Demystifying the Visa Application Process: A Step-by-Step Guide

The prospect of traveling to a foreign country can be exciting, but the visa application process can often seem intimidating and confusing. This step-by-step guide aims to demystify the visa application process, providing you with a clear understanding of what to expect and how to navigate each stage. Whether you’re traveling for leisure, work, study, or any other purpose, this guide will help you prepare and submit a successful visa application.
Step 1: Determine the Visa Type:
Before you begin the application process, you must determine the type of visa you need. Common visa types include tourist, business, student, work, and transit visas. Each visa type has specific requirements and documentation. Research the purpose of your visit and the appropriate visa category that matches your intent.
Step 2: Gather Required Documents & application process:
Every visa application requires a set of documents that demonstrate your eligibility and intent. These typically include a Valid passport with sufficient validity, a Visa application form (available from the consulate/embassy website), Passport-sized photographs meeting specified criteria, Proof of travel itinerary (flight reservations, accommodation details), Proof of financial stability (bank statements, sponsorship letters), Letter of invitation (if applicable), Educational and professional certificates (for study or work visas), Health insurance coverage (often required for long-term stays). Visit the official website of the embassy or consulate of the country you’re traveling to. Download and fill out the visa application form accurately and legibly. Double-check all the information provided to avoid errors that could delay the process.
Step 3: Pay the Visa fee & schedule an appointment:
Most visa applications come with a processing fee. The fee varies based on the type of visa, duration of stay, and nationality. Pay the fee through the prescribed method, which may include online payment or bank transfer, and retain the payment receipt as proof. If the consulate or embassy requires an in-person interview, schedule an appointment well in advance. Online appointment systems are commonly used. Ensure you have all your documents organized and ready for submission on the appointed date.
Step 4: Attend the Interview & Submit your application:
Prepare for the interview by reviewing your application and understanding the purpose of your trip. Be ready to answer questions about your travel plans, financial capacity, and ties to your home country. Dress appropriately and arrive on time. On the day of your appointment or as directed by the consulate, submit your application and all required documents. Follow the instructions provided by the officials and ensure that all your documents are organized and easily accessible.
Step 5: Track Application Status & approval:
Most embassies and consulates provide a tracking system that allows you to monitor the progress of your application. Use this service to stay informed about any updates or additional requirements. After submitting your application, be patient. Visa processing times vary based on factors such as the type of visa and the volume of applications. Check the average processing time on the embassy/consulate’s website.
Step 6: Receive Your Visa:
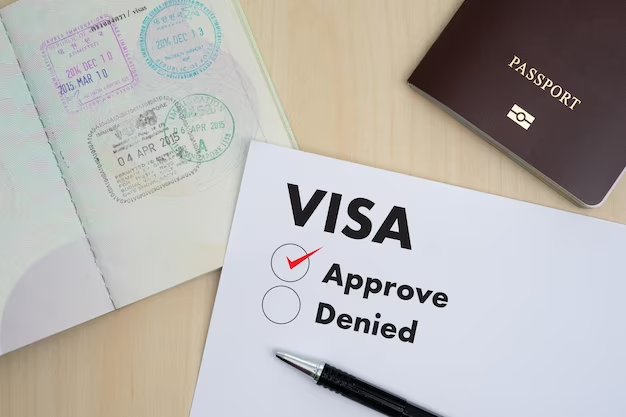
Once your application is approved, you will receive your visa stamped in your passport. Make sure to review the visa details for accuracy, including the type of visa, entry and exit dates, and any restrictions.
Navigating the visa application process doesn’t have to be overwhelming. By following this step-by-step guide, you can approach the process with confidence and ensure that you provide all the necessary documents and information. Remember to stay organized, be truthful in your application, and plan well in advance to ensure a smooth visa application experience.
KEYWORDS: visa, acceptance rate, states


